
Tutorials
○ 9 min read
Securing a web application with Let's Encrypt and Nginx Proxy Manager

Petros Kovatsis
Freelance Software Engineer
March 14, 2024
In this tutorial we will secure a domain and a subdomain that serve two different applications running with docker compose.
There is so much to tell about security and safety that all web applications must provide to the users, especially when it comes to personal details, financial information, online payments etc. I am sure that all your applications are secured with SSL certificates and serve from https protocol. How could it be differently though? Browsers won’t even load a page that is not secured or at best, they will prompt that terrifying message to the users saying that the website is not secured, even though it might be a legitimate one. To make matters worse, search engines will in many cases prevent a website from showing to search results or will rank it poorly if that is not secured.
In this tutorial we will investigate how we can secure our web application that is served from our own servers. To do so, we will be using Let's Encrypt to provide an SSL certificate and Nginx Proxy Manager to handle those certificates for us and of course to forward the browser’s requests to the appropriate application. Let’s get started!
Note: For this tutorial we will be using our blog app from a previous article. Our website name will be KindOfByte.com, and as already mentioned in a previous tutorial it is inspired by Miles Davis' album Kind of Blue.
What is Let’s Encrypt
Let’s Encrypt is a certificate authority. To put it simply, it is an organization that offers SSL certificates for a web application with which we secure the connection between the client - the browser - and the server. This whole process is taking place in the background and the end user will not even notice it. The process operates as an intermediary between a web application and a client and validates that the data transferred from one side to the other is encrypted. This is super important because we make it really hard for someone “bad” who gets in the middle to access all the information. They can but since they are encrypted, only those holding the appropriate keys can decrypt them.
But what is SSL? SSL means Secure Sockets Layer, again not too much information. SSL is a technology, a way to secure our connection. It is based on the public key cryptography, meaning we create a public and a private key and only those with the private key can decrypt information that is encrypted with the appropriate public key. To put that to work, our website holds the public key and encrypts the transferred data, be it a credit card, personal information etc. The server, and only the server, holds the private key with which it can decrypt that information. This is the basic concept. There is too much mathematics regarding encryption and it is not that weird that it is a different domain of the computer science field.
What is Nginx Proxy Manage
We need first to introduce Nginx. Nginx is a web server application, a software that serves web content, handles reverse proxy - which we will take advantage of - managing the load balance and more. Nginx Proxy Manager is an interface that uses Nginx and makes it super easy to expose web applications secured with Let’s Encrypt. Not too fancy right? But trust me, it unburdens you from some routine processes you should manage yourself, which is vital for small sized teams and small to medium sized applications.
The crucial part here is the reverse proxy functionality. The reverse proxy is the process of “listening” and “forwarding”, what this means is that the server intercepts the web requests - requests made from web clients such as the browser - and forwards that request to the appropriate application, be it another web server, an API gateway etc.
It is almost certain that most of the web applications out there, living on web servers, don’t server directly from ports 80 (http) and 443 (https). This is because a modern platform may consist of multiple applications, running on different VMs, containers and machines. This is why the reverse proxy is so important because it handles all those different incoming requests and forwards them to the correct end.
Setting up the DNS records
For this tutorial we will secure our very own platform. To achieve that we need to update the DNS records to point to the public IP address to which the Nginx Proxy Manager handles the requests. First we need to add 2 A Records - which map a domain to an IP address - on our domain provider, be it GoDaddy, Namecheap etc. Each domain provider has its own user interface, so you need to follow the instructions for your own provider accordingly. Suppose that our public IP address is 1.2.3.4 and of course the domain is KindOfByte.com. Add the below records.
Name kindofbyte.com IP 1.2.3.4 TTL 1 Hour
Name www.kindofbyte.com IP 1.2.3.4 TTL 1 Hour
We have now added the appropriate records, one for the kindofbyte.com pointing to the 1.2.3.4 IP address and the www.kindofbyte.com pointing to the same address.
Now let’s add a third A Record for our content serving server. This server will be only used to serve static content such as images and files.
Name content.kindofbyte.com IP 1.2.3.4 TTL 1 Hour
Again, the content.kindofbyte.com subdomain points to 1.2.3.4 IP address. Our reverse proxy will handle those requests and forward them in different containers as we will see later.
Setting up our platform with Docker
Now it’s time to set up the platform which consists of two services, a content server and a web application. Both services will run as Docker containers under a docker-compose.yml file as shown below.
version: "3.8"
services:
  nginx-man:
    image: jc21/nginx-proxy-manager:latest
    restart: unless-stopped
    ports:
      - '80:80'
      - '81:81'
      - '443:443'
    volumes:
      - ./data:/data
      - ./letsencrypt:/etc/letsencrypt
    networks:
      - kob_net
  content-server:
    image: httpd:2.4
    restart: always
    volumes:
      - ./content:/usr/local/apache2/htdocs
    networks:
      - kob_net
  webapp:
    image: kindofbyte/vanillablog:0.1.0
    restart: always
    depends_on:
      - content-server
    networks:
      - kob_net
networks:
  kob_net:
    driver: bridge
Let’s analyze that docker-compose.yml file a little bit. Firstly we add the Nginx Proxy Manager service. This is a public docker image and we will fetch it directly from the available public repositories. What is important here is that we expose ports 80, 443 and 81 to the host machine. The first 2 are required to serve our application using http and https. The third one, port 81, is used to expose the Nginx Proxy Manager’s web interface which we will explore later. Moreover, two folders are created - data and letsencrypt folder - to save data regarding the certificates and saved hosts’ information.
Next we add a simple apache server by using the docker image httpd:2.4. Again this image is public so we will also fetch it. We mark here the name of the service to be content-server - and map the host’s folder contentdata to the default apache’s server public folder. It’s good to know here that apache’s default service port is 80, we will use it later on the reverse proxy configuration.
Finally we add a third service which is a web application. We are using a docker image we created in a previous article. This image is not public, you need to build it yourself. You can follow the instructions in that article, use any other docker image of yours or remove it completely.
Note: To be able to use docker and docker compose you should have them already installed on your computer. If not, find the installing steps in the previous article.
1. To fetch the public images execute the following commands in a command line interface.
> docker compose pull content-server
> docker compose pull nginx-man
2. You can now run the services.
> docker compose up -d
And finally you can stop them.
> docker compose down -v
If everything was correct, then you should probably have 3 services running on your host machine. You may execute the following command to view them.
> docker ps
Great, the tough part is now completed. We now need to use the Nginx Proxy Manager’s web interface to add the appropriate hosts and request the certificates.
Configuring Nginx Proxy Manager
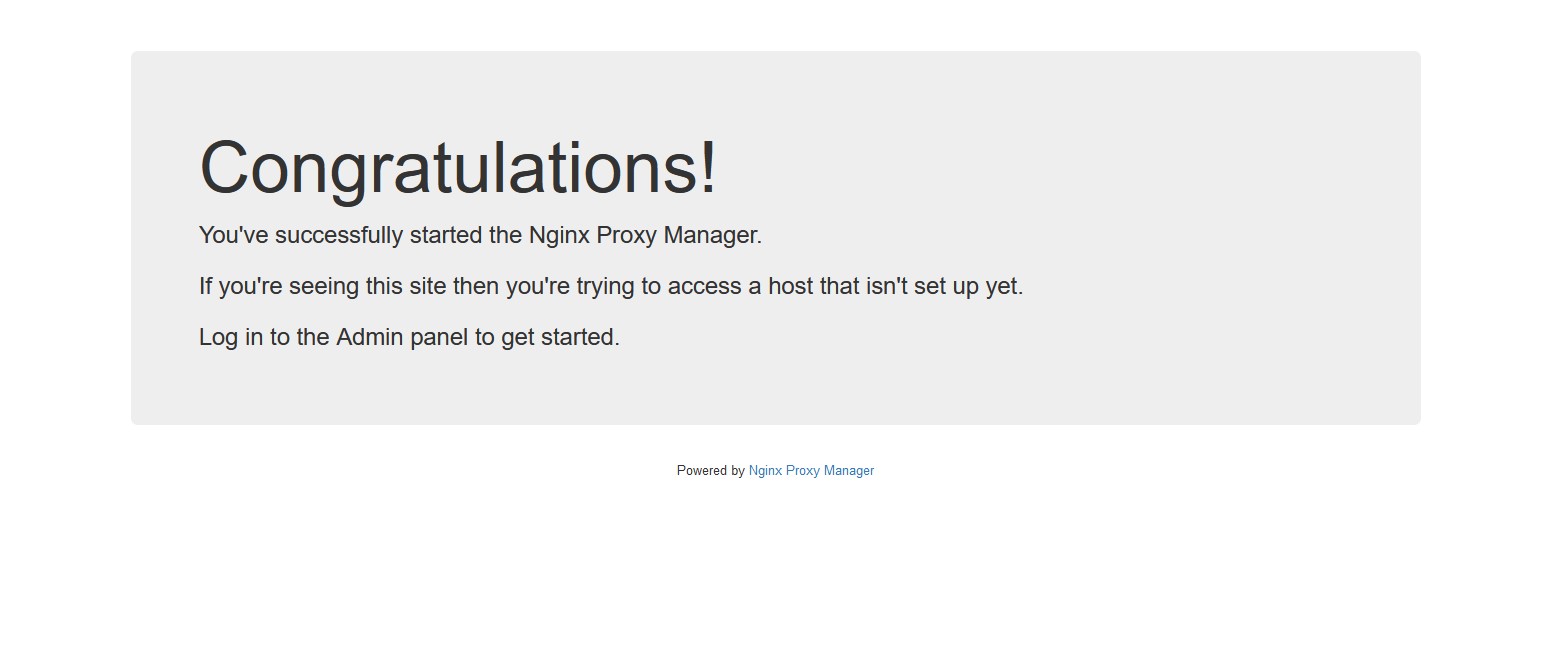
It’s now time to configure the hosts and request the SSL certificates. Open your browser and type your IP address, in our example was 1.2.3.4. You will be served with the Nginx’s default page.
Now refresh your page but this time add port 81 at the end, http://1.2.3.4:81. You will be asked to login.
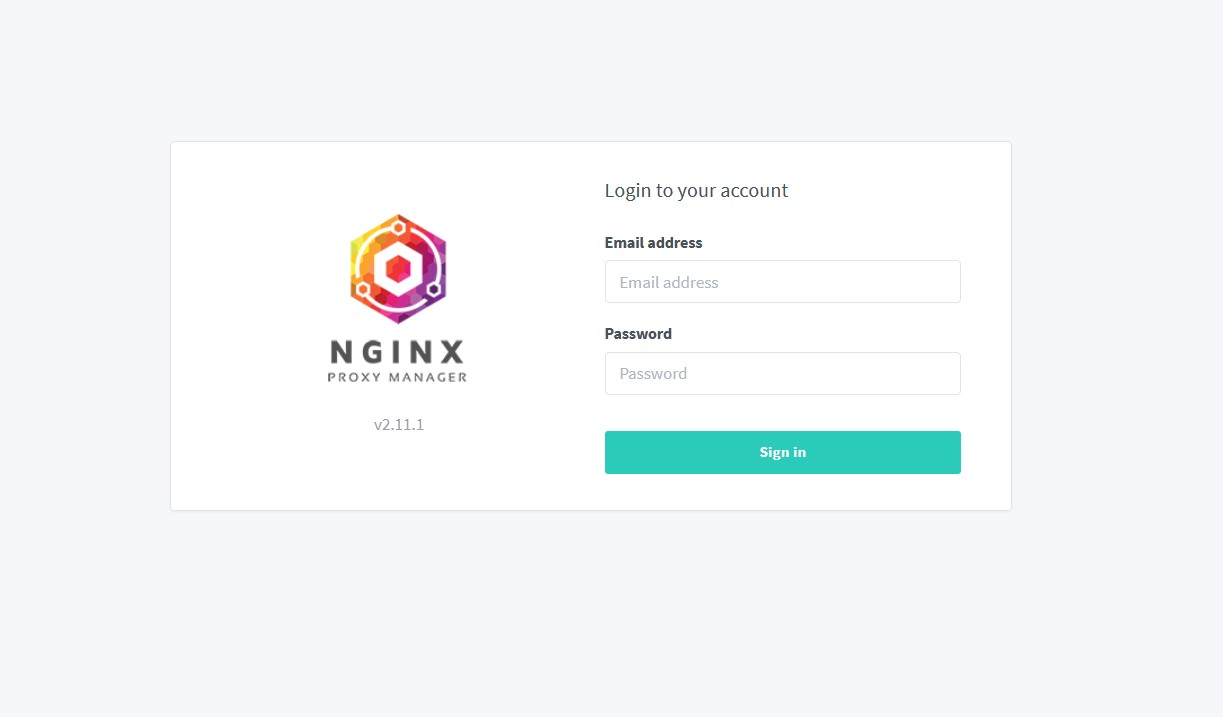
Use the default username and password - as shown below - to enter the secured area.
Username: admin@example.com
Password: changeme
As soon as you login for the first time, you will be asked to change the username and password. When done with the credentials update you will be redirected to the main page. On the tab menu, click on the Hosts option.
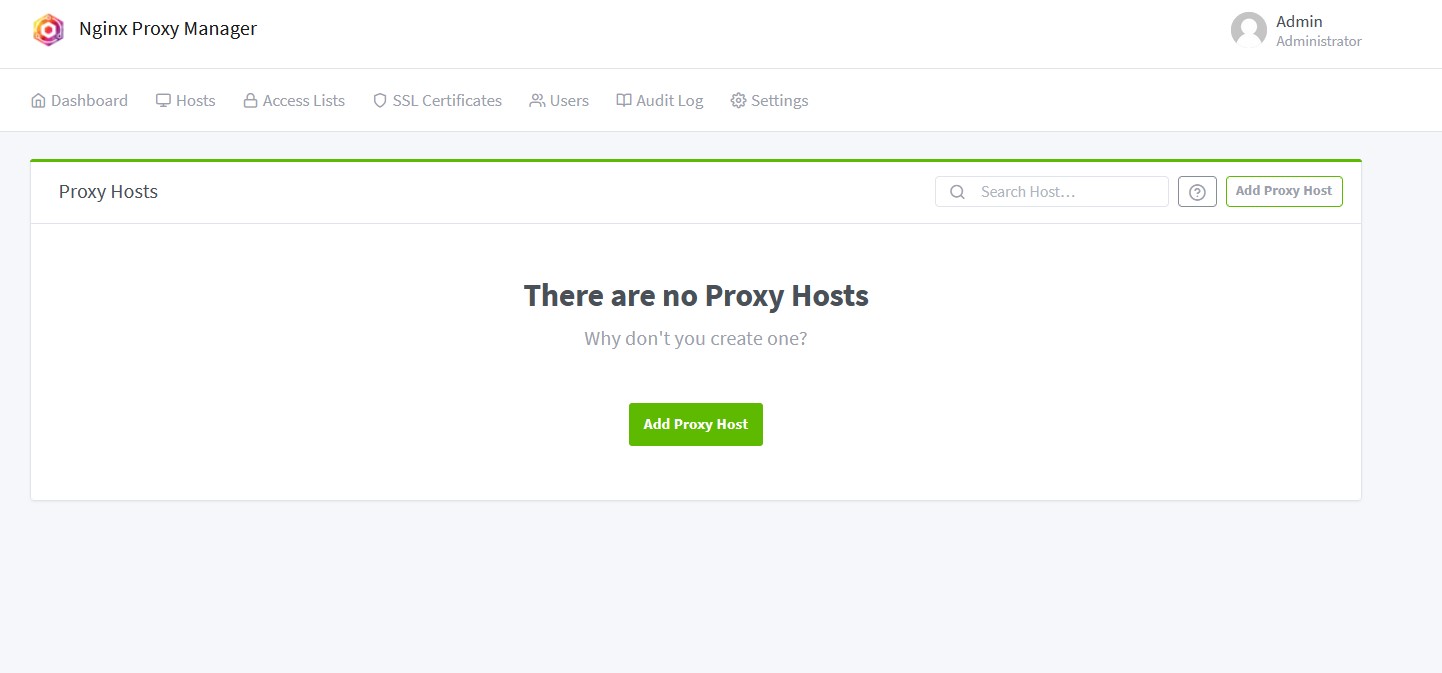
We will now add our proxy hosts. Click the Add Proxy Host button. On the popup screen we need to add our protocol, host and port for each running service. Since all services are running under the same network on the docker compose, they are all visible to each other.
For the host details, add the your website name as we did in the A Records above, kindofbyte.com and www.kindofbyte.com. As you keep typing, a suggestion pops up, click that suggestion when done typing in order to correctly add the values. For the protocol, leave it to http. In the Forward Hostname field add your service name, webapp in our case. Finally use the port 3000, this is the default port a NextJs application is being exposed to.
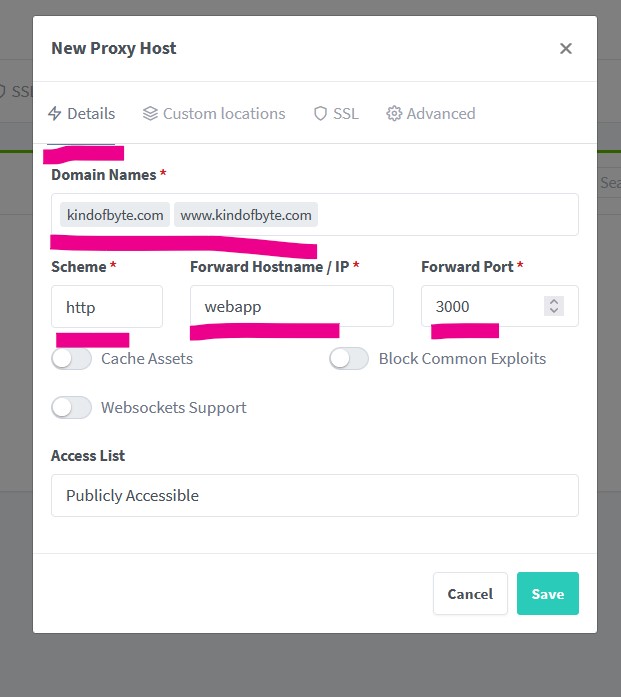
Don’t click Save yet. Click on the SSL tab instead. You will have to add a couple more information.
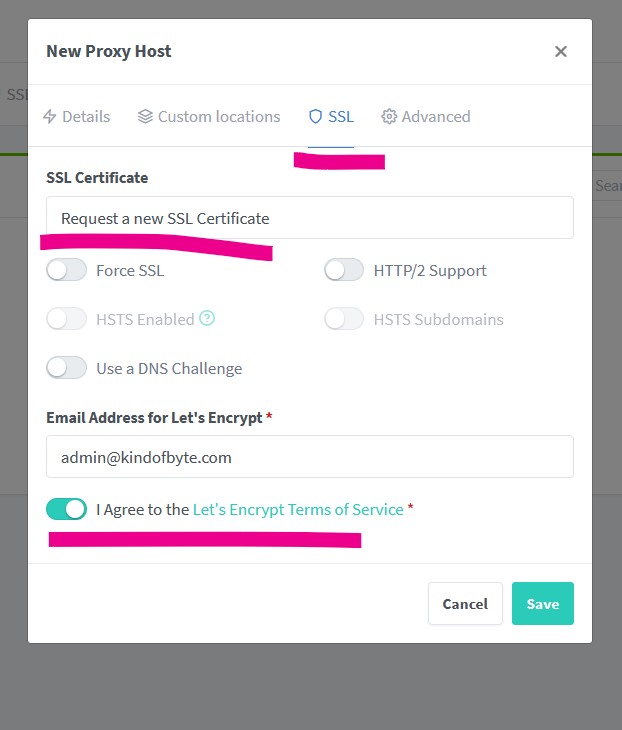
For the SSL certificate select Request new, add a valid email address to get notifications about your certificates and finally agree with Let’s Encrypt’s terms of service. Click Save now.
Do the exact same thing for the content-server service. Click on Add Proxy Hosts and follow the steps. Remember, for the content-server the port is 80.
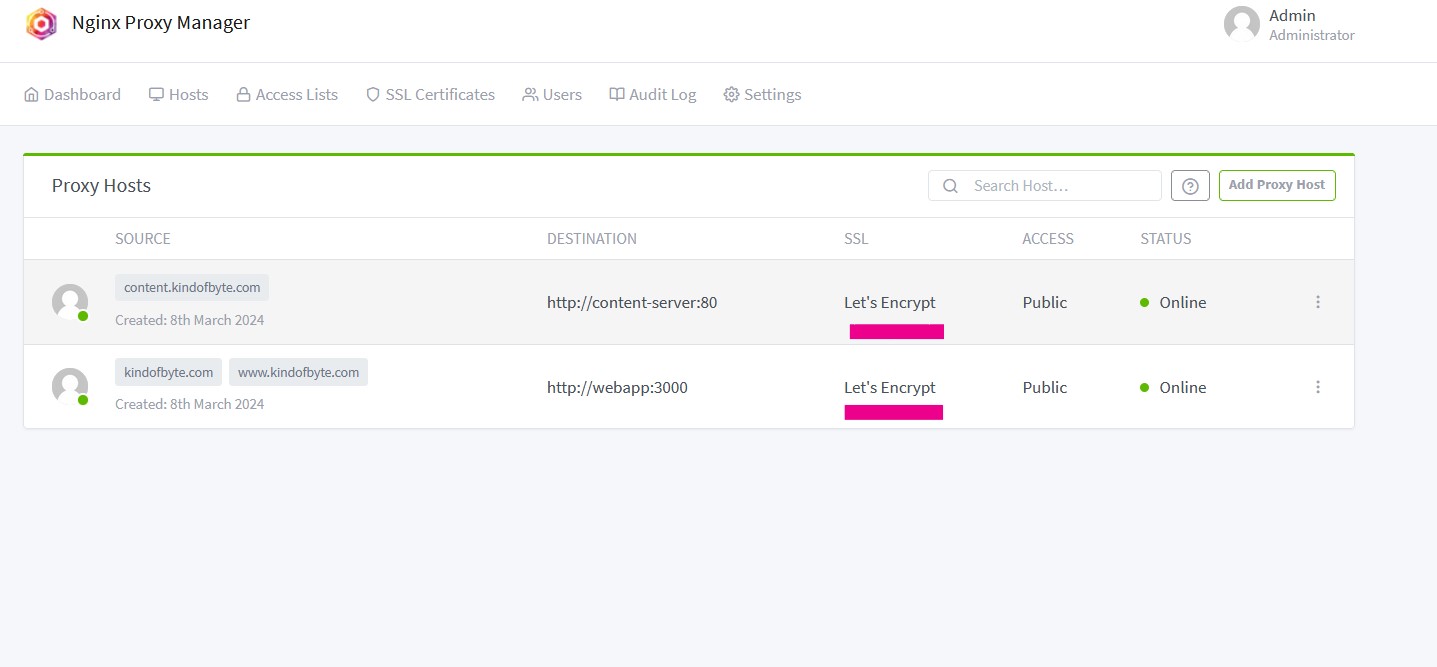
If everything went as planned, you should now have two hosts ready to serve you users. You may force your users to use https when accessing your applications via http. To do that - and I recommend doing it - click on the 3 dots next to each host and select Edit. Click to the SSL tab and enable the Force SSL option. Check your website now. It should be secured with Let’s Encrypt.
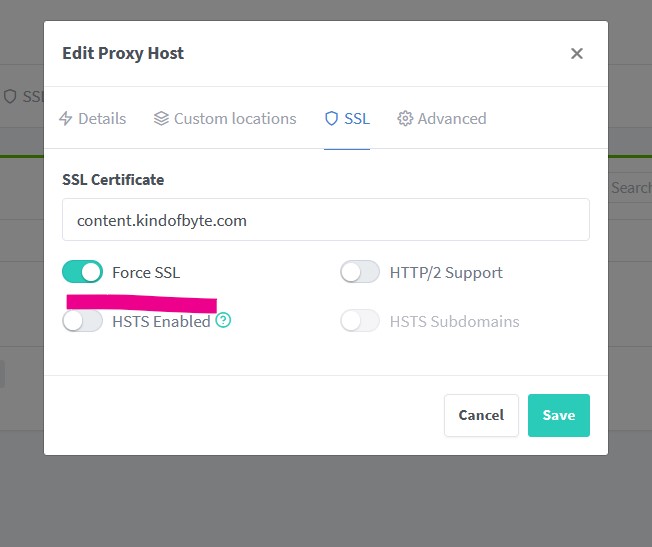
Note: You may need to double check that the Force SSL is enabled.
Note: No need to worry about certification renewal. Nginx Proxy Manager handles that for you.
It Works!
We are there! We now have our website and the content server secured. Hope you found this tutorial helpful, consider sharing it with your network and let me know if you have any questions.
Until next time, enjoy coding!
Cheers!